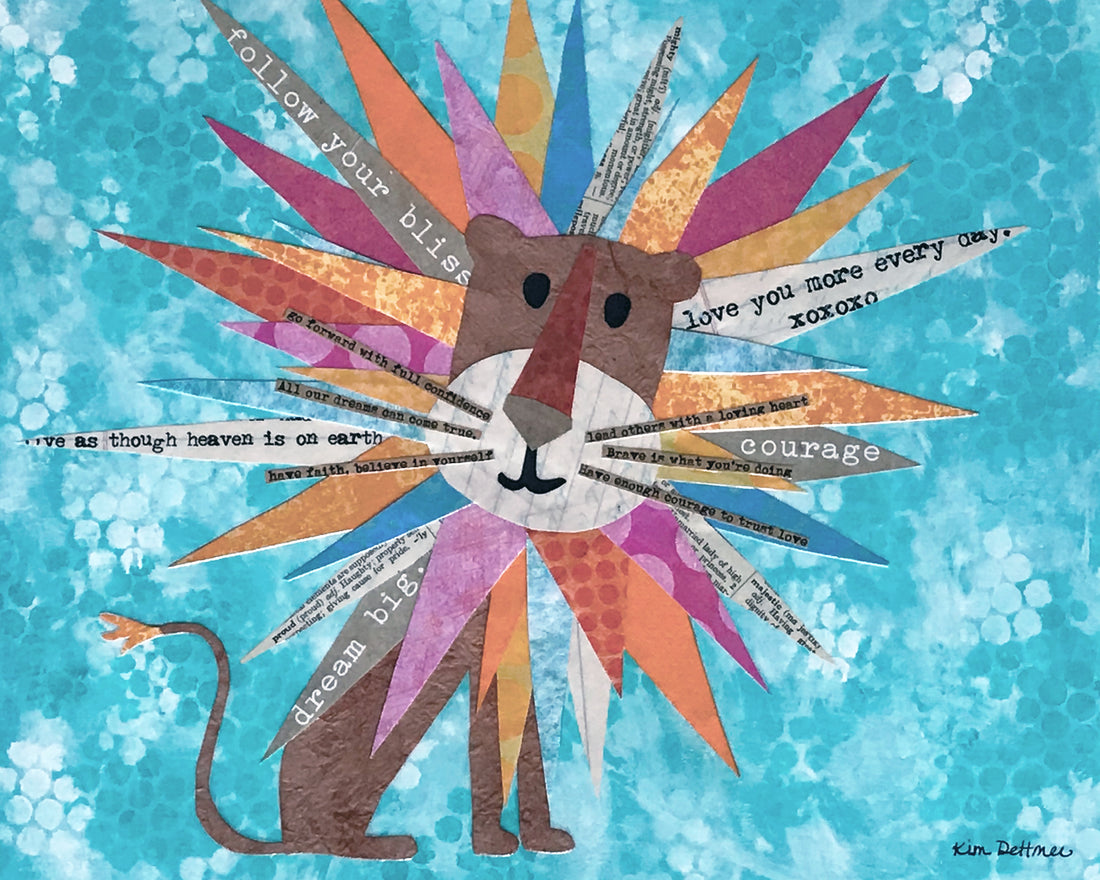
This year I have been spending a lot of time figuring out how and putting my artwork on products. And, WOW! I have learned SO much! Because many people have asked how I am doing it, I thought that I would share details about this process.


How I am putting my artwork on products:
There are a variety of ways to get artwork on products. I am currently using Print On Demand (POD) companies. POD allows me to sell my custom designs on various different types of products, such as mugs, t-shirts, phone cases (and more) and the POD company does all the printing and fulfillment.
The two POD companies I use are Printful and Redbubble.
- Printful integrates with this website (I use Weebly) and produces most of the items found in my KimDettmer.com store (my husband and I produce the cards, prints and a few other items).
- Redbubble is a website specifically created as a ecommerce site featuring independent artist's works on products. My artwork is included on the Redbubble site.
There are MANY other POD companies that can be used - these two just work well for me right now.
My future plans are to also licensing my artwork - which is another way to get artwork onto products.
What I do with the Original Artwork to make it work for POD platforms:
Because I create my artwork by hand, and not digitally, I have to turn the original piece into a digital file. Here's how I do that:
SCANNING
- The scanner I have is an Epson Perfection V600 Photo, which I purchased purposely because it is able to scan at a high resolution.
- I scan the piece of art (at 1200 dpi) - typically, I save the scan as a TIF file
- If the artwork is larger than the scanning bed, I do multiple scans to get the entire piece and then use the Photomerge function in Adobe Photoshop to get one digital file.
PHOTOSHOP EDITING - The scanned file I open in Adobe Photoshop and, if necessary, I photomerge the various sections of the artwork.
- I then Crop artwork to get rid of "extra" stuff around the edges.
- Often times I remove the background of the original artwork in Photoshop so that I have the option to change the background color of the products. Depending on the background, this may take a long time to edit.
- If I think I might want to put the artwork on large items, like comforters or shower curtains, I make the shortest edge at least 30"
- Sometimes, I may use Photoshop to create a pattern to use as an option for some products. (see Bug original art and created pattern)
- In Photoshop I, at times, cut out specific parts of the art to use independently on some products. (see the ladybug, dragonfly, and bee that were separated from original Bug art)


DIGITAL FILES
- I always save my original scans in case something goes wrong with the manipulated digital files. If I have sold the original, then the only thing that I have to go back to is the original scan. Luckily, I have only had to go back to an original scan once.
- After putting my original scan in Photoshop and cropping it, I rename it and save it as a Photoshop file (usually as a PSB file).
- If I have removed the background, I save both a transparent (PNG) file and one with a white background (JPG).
- All versions (of the same original) that I want to use on products, I rename and save together in a folder. For example for the bog artwork, I have names like: bugs.psb, bugsTRANSPARENT.png, bugs.jpg, bugsPATTERN.jpg, bugsPATTERNtransparent.png, bugsBEE.jpg,.. you get the picture. All of those files are saved in a folder entitled "bugs".
- All versions that I want to use on products I save at 300dpi.
- If I think that I will use some of these images on social media, I save a lower resolution jpg.
Tips about uploading artwork to POD platforms
All POD platforms ask you to upload your file to get your artwork onto products. However, each platform does this differently, so I am not going to go into much detail, but here are a few tips that I have learned thus far.
- Edit images for each specific product. I have found that to make sure that my artwork looks good on every product I need to edit. If I can't make it look good because of dimension, or how the image looks on a particular product, I won't sell that product with that artwork.
- Put thought in to the titles and tags of your products - the title and tag are what is sorted through (in the interwebs) to help someone find what they are looking for. In my tags, I try to think of all the words that come to mind when I see the artwork. For instances with the bug pieces, I used "bugs", "cute", "whimsical", "colorful" + more.
- Play around with the platform. I found pretty quickly, when I first started, that I didn't know what I was doing on either of the platforms. But, as I keep noodling around on the platforms, I began to figure things out. Don't worry, you can always delete something and try again. There is still a lot I do not know - but by getting in there and trying things, I have learn tons!
I know that there is a bunch more that I could share about POD and putting artwork on products... but this feels like a lot. If you have any questions, comment below and I'll be sure to answer them in another post.
THANKS!
Make it a HAPPY day!

